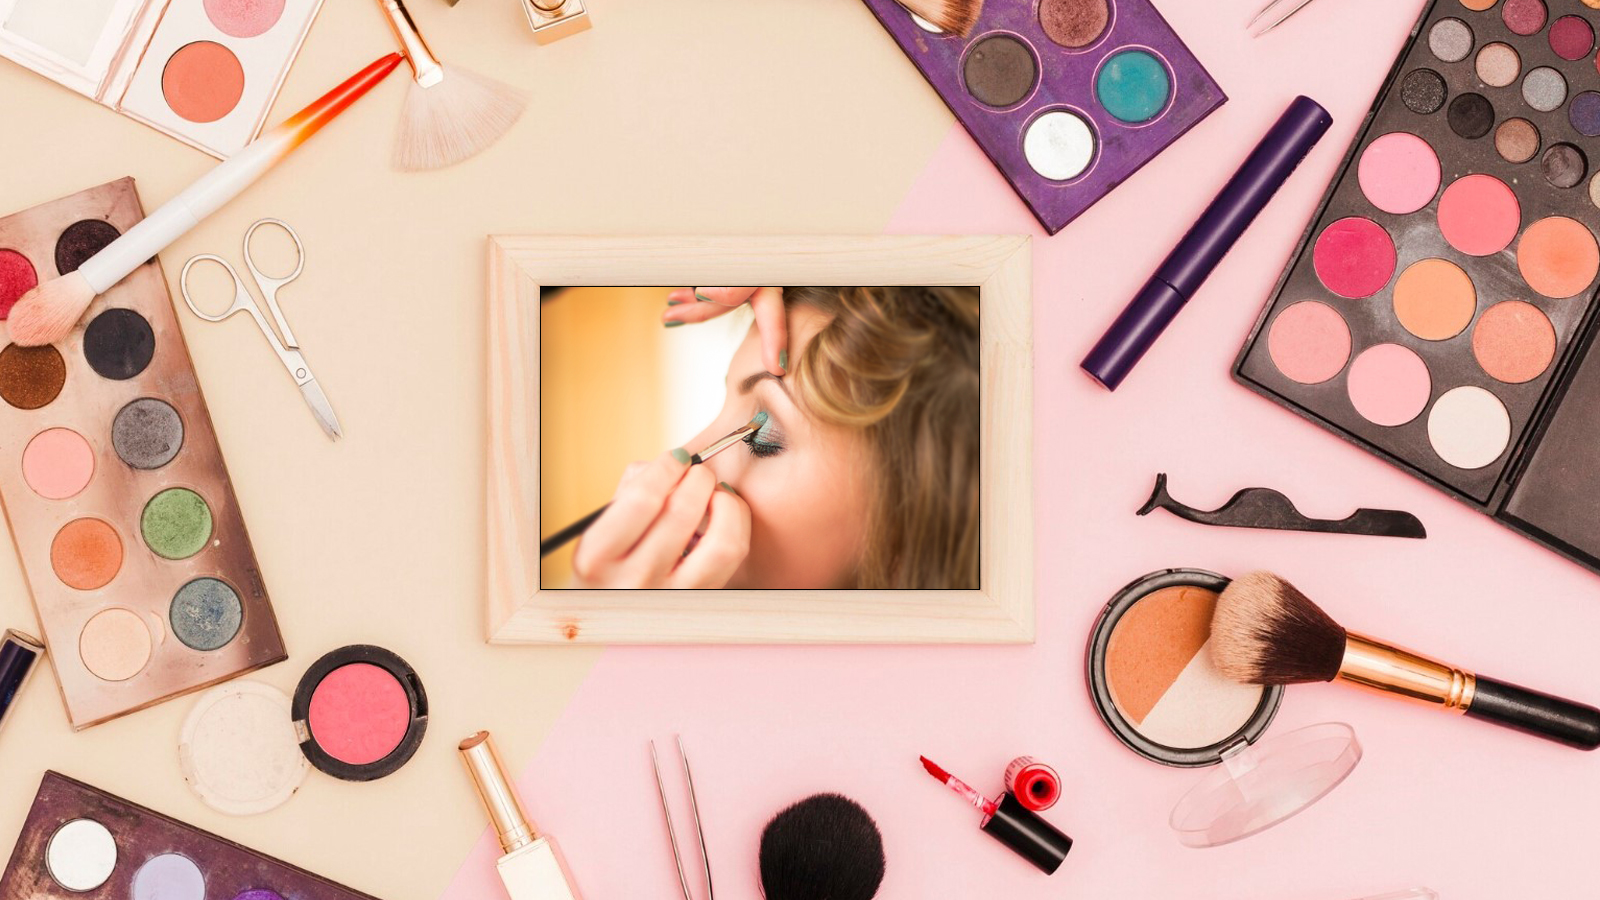
Makeup shouldn’t be intimidating — especially when you just want to look fresh, presentable, and feel confident for daily life. This guide will walk you through a natural, easy-to-do routine step by step.
Why “Everyday Makeup”?
- It enhances, not hides.
- Looks good in casual settings (office, college, meetups).
- It’s quick, light, and wearable.
- You still look like you, just more polished.
Step 0: Prep Your Skin
Before applying any makeup, take care of your skin — this makes all the difference.
| Step | What to Do | Why It Matters |
|---|---|---|
| Cleanse | Use a gentle cleanser to remove oil, dirt or leftover makeup | Helps products go on smoothly |
| Moisturize | Use a lightweight moisturizer (gel or lotion) | Ensures skin is hydrated, prevents dry patches |
| Sunscreen | Use SPF 30 or above | Protects skin from UV damage — even indoors |
| Primer (optional) | Use a mattifying or hydrating primer depending on your skin type | Helps makeup last longer and smoothens surface |
Once skin is prepped, you’re ready for makeup!
Step 1: Base — Foundation / Tinted Moisturizer / BB Cream
- Choose something light or medium coverage — you don’t want thick layers for daily wear.
- Match shade as closely as possible to your neck or jawline.
- Use a sponge, brush, or clean fingers (damp sponge gives a natural finish).
- Start with a small amount; build only where needed (e.g. around nose, under eyes).
Tip: If you have unevenness (redness, dark spots), go to the next step (concealer) instead of using heavier foundation everywhere.
Step 2: Concealer (Spot Use)
- Use concealer under eyes to brighten (a shade lighter than your skin).
- Use it on blemishes or dark spots.
- Apply in small dots, then blend by tapping with finger or sponge.
- Don’t overdo — just enough to even out.
Step 3: Setting (Powder / Setting Spray)
- Use a light translucent powder only in areas that get oily (T-zone).
- Or use a setting spray to “set” everything if you prefer dewy look.
- The goal is to prevent smudging and make it last through the day.
Step 4: Eyebrows
- For everyday, simply shape and fill where sparse.
- Use a shade close to your natural brow color.
- Use light, feathery strokes.
- Brush through with a spoolie so it doesn’t look “drawn-on.”
Step 5: Eyes — Simple & Neutral
- Use a neutral or light matte eyeshadow (beige, soft brown) all over lid.
- You can add a slightly darker shade in crease for subtle depth.
- Use a brown or black pencil eyeliner very close to lash line (or skip it if you find it harsh).
- Curl lashes and apply one coat of mascara on top lashes (lower lashes optional).
Step 6: Cheeks — Blush / Bronzer / Highlighter (Optional)
- Use a soft blush (peach, pink, coral) on the apples of your cheeks, blend outward.
- If you want warmth, lightly sweep bronzer along hairline, cheek hollows, jawline.
- A subtle highlighter (champagne or soft gold) applied to high points (cheekbones, bridge of nose) can add glow — but keep it minimal.
Step 7: Lips
- For everyday, a tinted lip balm or nude/muted lipstick works well.
- Use a lip liner (optional) for clean edges.
- Blot lightly with tissue to tone it down if too bold.
Step 8: Final Check & Mist
- Blink a few times to ensure nothing gets into your eyes or smudges.
- Use a compact mirror to check in natural light (if possible).
- Optional: Light setting spray mist to finish.
Tips & Tricks
- “Less is more” — you don’t need many products to look fresh.
- Choose multipurpose products (like a lip & cheek tint) to save time and money.
- Use good tools — a blending sponge and a couple of brushes make a difference.
- Practice blending (especially around nose, jaw) so you don’t get harsh lines.
- Always remove makeup properly at night to keep skin healthy.